Sunday, May 4, 2014

Smile

One of my favorite things to do when scrapbooking is to make my own flowers, you'll always have co-ordinating blooms and it's a great way to use up those scraps.

I've created a tutorial created this layout using Jo Jo and Oriental Sunshade embossing folders from "Who, What, Wear", and dies from the Momento, and Secret Treasures collections


Cut blue paper 6.5 x 3.5 inch and emboss with Oriental Sunshade embossing folder.  Cut pink paper 2.5 x 8.25 inch and emboss with JoJo embossing folder.  Cut strip of paper 1.5 x 9.5 inch.  After embossing my papers, I sanded the raised edges of the Oriental Sunshade design, and inked the Jo Jo embossing.

 I cut a Cappuccino Ornamental Lace Die using the Quick Release paper which made it a breeze to get all the intricate pieces out.
 I cut three  Party Banners, and four Retro Flowers from Core'dinations cardstock and paper offcuts.
 I inked the flowers and cut a notch into each end using Couture Creations Pointed Non-stick scissors.
 Spritz the flowers with shimmery mist and scrunch, allow to dry and then open.  Layer the petals and decorate with Glitz'n Glamour.

Arrange all the layers on the page as shown.


And some close ups for you....


Wednesday, April 16, 2014

Teaching at the Scrapbooking & Papercraft Expo

I am super excited to be teaching this year at the Scrapbooking Expo held in Brisbane in June.  Here is the info....

 Tina Connolly, Tracey Cooley and Kerrie Gurney
are teaching classes using the latest releases from Couture Creations 
at the Scrapbook & Papercrafts Expo
June 7th - 9th 2014
Class descriptions are on the website now and classes go
You will find the girls in Classroom 9
Places are Limited so don't delay book your place today
here is a sneak peek at their classes


 Hope to see you there!

Saturday, April 12, 2014

Glamour Days card

Hi everyone, today I'm sharing the card I created using the new Couture Creations Glamour Days and Momento dies.


Instructions:
1. Cut 12 x 6 inch piece of Core'dinations Gemstones Pearl cardstock for card base

2. Cut 5 3/4 x 5 3/4 inch Coredinations black cardstock and adhere to base.  *Tip: Expose a small amount of double sided tape and create a tab as shown.  (makes it easy to line things up straight)


 Once aligned, press the corner and pull the tab to expose the adhesive. Press along each edge.


3. Cut 5 1/2 x 5 1/2 inch Couture Creations Damask Delight paper and adhere.

4. Diecut and emboss Ornamental Lace Die 'Cappuccino' from Core'dinations Gemstones Pearl cardstock.

5. Adhere using Couture Creations 3D Foam Mini Dots.

6. Attach metal foil tape to cardstock and diecut and emboss Glamour Days Intricutz Die '1950's Albert & Simonetta'.


7. Colour dress and suit using an alcohol or solvent based ink.  Allow to dry, then colour with Glitzin' Glamour Glitter Glue, and once dry, adhere to card.


8. Attach Gemstones in each corner.

And here are some close ups:


Couture Creations products:
CO723245 - Ornamental Lace Die Cappucino
CO723719 - Glamour Days Intricutz Dies - 1950's Albert & Simonetta
CO723545 - Damask Delight paper pad
CO721985 - Double Sided Tape 6mm
CO723781 - 3D Foam Mini Dots
CO721974 - Glitzin' Glamour Glitter Glue - Hot Pink
CO721977 - Glitzin' Glamour Glitter Glue - Black
CO721989 - Gemstones 100pc - Seaspray

Sunday, March 30, 2014

A colour challenge and some really cool news!


Hi everyone, my really exciting news (for those of you who haven't heard already) is that I was chosen to be part of the Couture Creations 2014 Design team.  You can follow the links to the blogs of all the talented ladies that have been chosen. 

 
Tracey Cooley (Special Projects)
Kerrie Gurney (Design Team Coordinator)


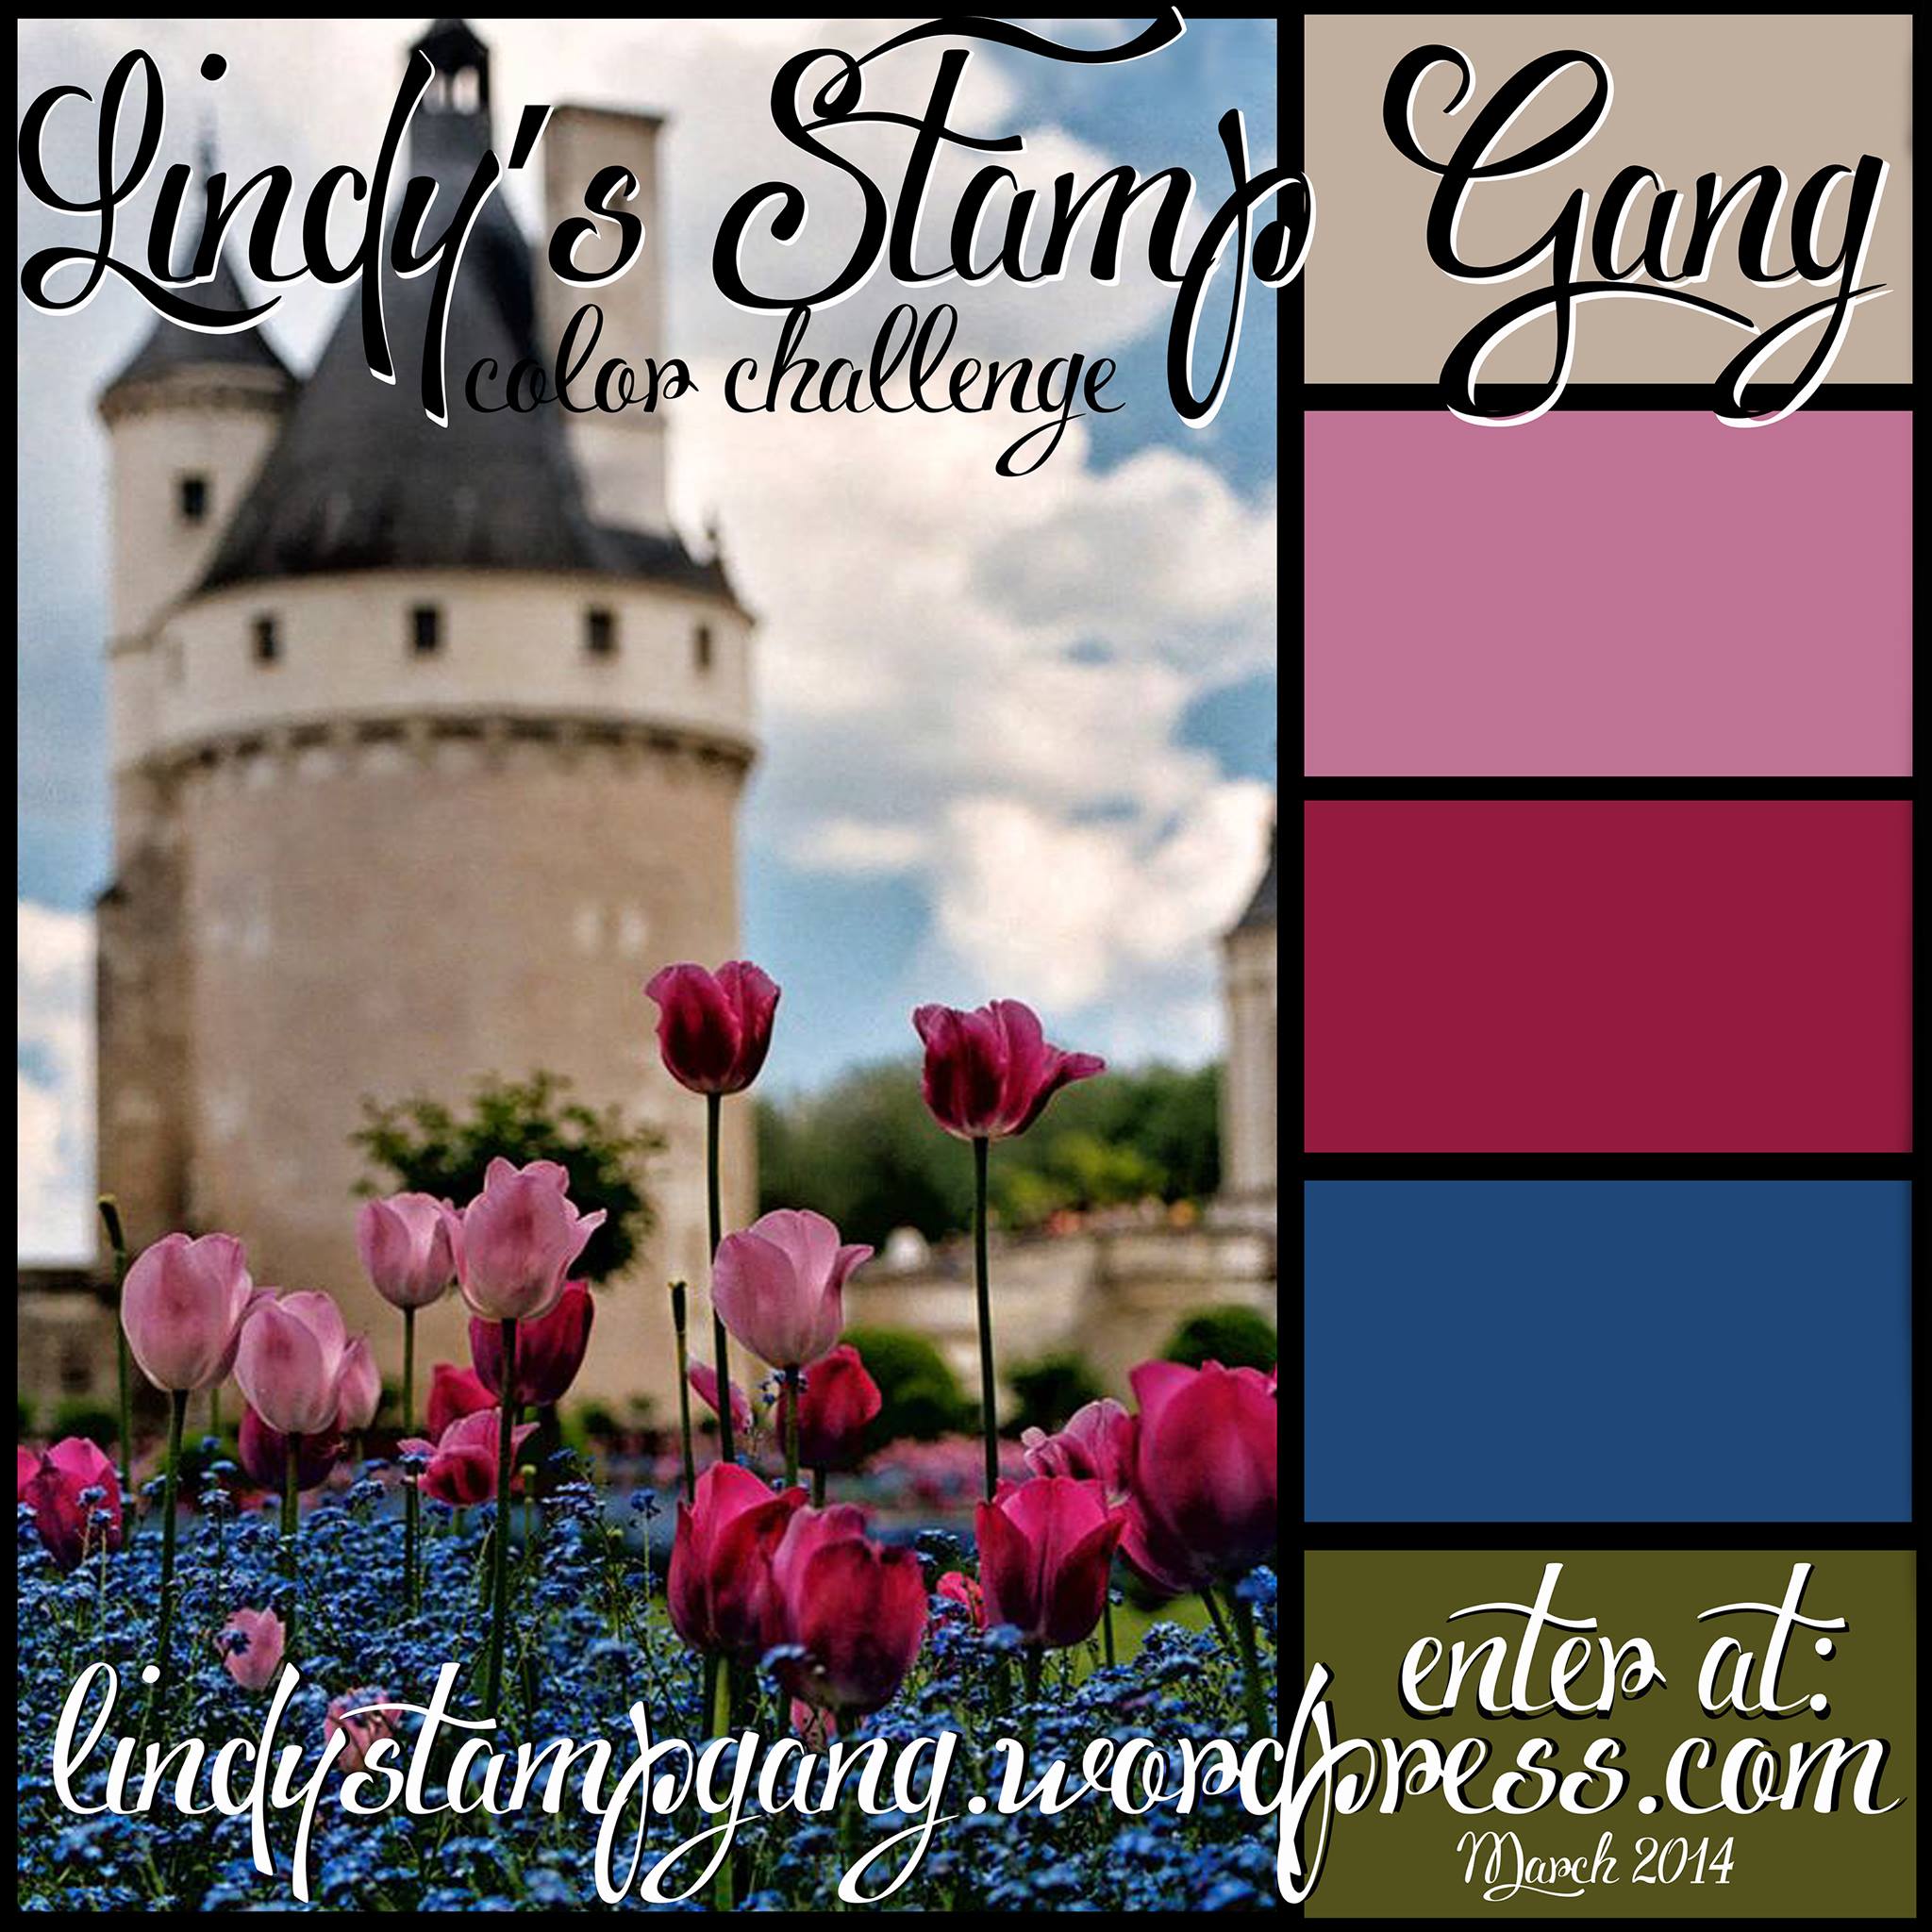
 And now I'd like to share with you my colour challenge entry for Lindy's Stamp Gang for March.


I started with two sheets of Core'dinations cardstock, and built up layers using stamps, washi tape, and various other mixed media items.

I used LSG embossing powders on the Twiddleybitz butterfly and frame, then rubbed some Inka Gold on the edges.  I used Couture Creations Glitzn'Glamour on the title to give a nice glittery effect after I'd painted it with Lindys Stamp Gang sprays.


The Lindy's Stamp Gang products I used were:
Embossing powders - Razzleberry Plum and Silver Moon Mistletoe 
Moon Shadow Mist - Tawny Turquoise

Twiddleybitz chipboard - title, oval frame, butterfly

Thanks for dropping by!
Happy scrapping, Tina

Wednesday, February 26, 2014

Couture Creations Design Team Application Round 2

I am very honored and excited to have made it to Round Two! 
For this round we are required to create a new project using Couture Creations embossing folders, and either decorative, doily, or nesting dies. 


I've included full instructions on how I created this layout. 

1. Trim cut-off strip from all papers.  Trim 1 1/4 inches from top and one side of Vintage Christmas (blue snowflakes).

 
2. Punch (blue snowflake) paper randomly using Martha Stewart edge punches.  Distress un-punched areas, and ink all edges.   Ink edges of background paper.


3. Emboss the corners using 'Serene', and 'Peace And Joy' embossing folders as shown.  Ink the raised pattern.


4. Distress using a Crop-A-Dile, punching small and large holes.  Attach a few eyelets to create contrast.

 
5. Attach to background paper using Couture Creations double-sided tape.

6. Die-cut a doily using Alycyone Doily Die.  I found the Quick Release Paper to be awesome, making it really easy to cut and release the paper from the die.  I have a great tip for you, because you were probably wondering why I have a washing up brush in the photo!  Gently brush over your paper and the dies and it will push out all those tiny pieces of paper.  No more endless poking with an awl (aka 'pokey tool').

7. Tear pieces of the doily and slip it between papers as shown.


8. Emboss Core'dinations Whitewash cardstock in 'Watering Can'' using 'Project Journal Cards' embossing folder.  Sand embossed pattern to reveal the core colour.  Cut out as shown, and distress edges.
 
9. Cut and emboss three 'Party Banner' from Core'dinations Pine Needles Distress.  Cut two 'Moments In Time' from Watering Can Whitewash, and two 'Dolce' from Pine Needles Distress and Vintage Christmas paper.

10. Cut strip of paper 5 3/4 x 2 3/4 inch, and Whitewash 9 x 3 3/4. Notch into ends to create a banner shape.  Emboss the Whitewash with 'Pinstripe' embossing folder and sand.  Layer elements as shown.


11. Mat photo with Vintage Christmas paper.  Die cut some snowflakes from a variety of paper and cardstock.


I also spritzed with some mists, and added Couture Creations Gemstones and Pearls, as well as some Glitzin Glamour  'Crystalina'.


I hope you've enjoyed this tutorial, and that I've inspired you to go create something.   (I'd love to see your version, so drop me a link in the comments section if you post it on your blog)

Happy scrapping,
Tina

LinkWithin

Related Posts with Thumbnails