Hi everyone, The theme for the
Artfull Crafts Design Team this month is "Birthdays and Blooms" so make sure you check out the
blog to see all the wonderful projects, tips and techniques the girls will posting. As you've probably noticed, I love adding blooms to my projects, it gives depth and texture, and they are so pretty!
First I have a card I made, based on a sketch by Tanya Leigh. I used Kaisercraft's
English Rose collection. I love that the reverse of the barcode strip is decorated...very sweet. I used
Kaiser's new Paper Blooms and
Sullivan's mini roses on it too.
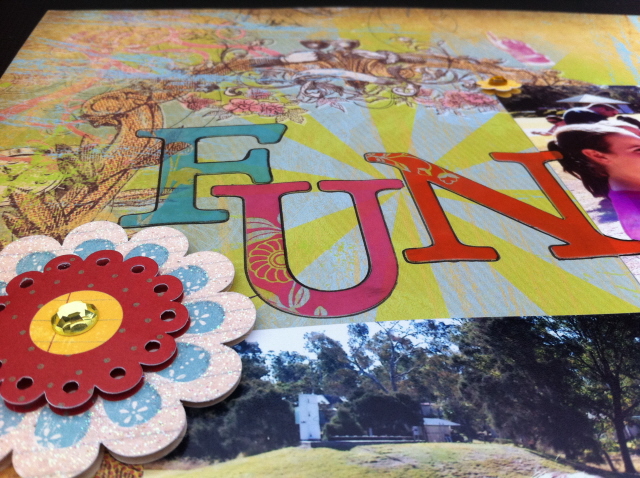
My layout was made using
Graphic 45 "Once Upon A Springtime" paper. These papers are seriously gorgeous with lots of flowers and fairies. And the paper is a really, good quality, fantastic for layering and fussy cutting.
I used Tim Holtz filmstrip, lots of lovely flowers, and
Graphic 45 diecut tags and
frames. I added a little extra glitz with some
Stickles.
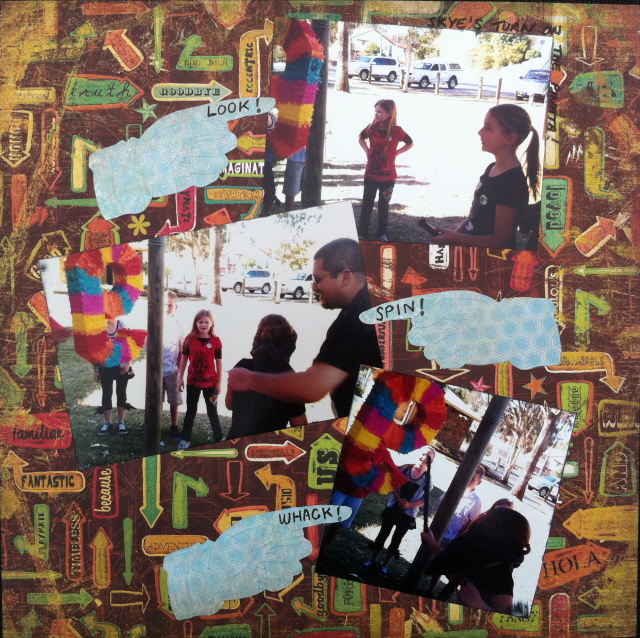
I love making my own flowers so will be posting a few tutorials over the next few weeks. As they say....Stay tuned!
Dimensional Magic is a very versatile product, but many people are unsure how to use it. I use mine all the time, and find it lasts for ages. For me it's a necessity alongside tape and ink. Here are a few of my favourite ways to use it.
1. As a strong glue! It's fantastic for glueing buttons, shells, plastics, acrylic, and metal. I use it on acrylic albums because I want it to last, and I know it will hold.
2. As a glaze on
chipboard or other embellishments to give it a glossy look.
It was hard to capture this, but the doodled flowers, & yellow icing are glossy. I also highlighted every second line on the wrapper of the cupcake.
3. To create "dew" on your flowers, add a few little droplets on the petals
4. It's brilliant for attaching
glitter or
Diamond Dust to your projects. Simply put
Dimensional Magic where you want the glitter & sprinkle the glitter on. (N.B. It works great if you dip flowers into the
Diamond Dust, gives a nice and chunky look.)
5. To highlight a pattern on paper. It has a pointed tip which allows very precise application of this product.
The dark part of the bracket was covered in Dimensional Magic, and provides a nice contrast to the flat background.
I highlighted "Sisters"on the title, and parts of the patterned paper.
I've used Dimensional Magic on the guitar, faux photo corners, and title .
6. To create texture on acrylic albums. Create your own swirls, grid patterns, etc.
7. To attach small items such as beads, microbeads, & Flowersoft.
8. It can be used in the same manner as Glossy Accents (which is used by Tim Holtz in many of his videos, &
books)
9. Creates a cool 3-D effect when you mix glitter into it on your chipboard. I use a pinhead or toothpick.
10. You can make jewellery by using it in the same manner as resin.
11. Use it to create a resist, allow to dry.
Distress Ink or
Glimmer Mist over your paper, then buff off the excess. (I will do a quick tutorial on this in my DT post next week.)
Tips for use
Do
not shake the bottle. This will create bubbles (use a pin to pop them while still wet)
Use a needle or pin to unclog the nozzle.
It is a little cloudy when wet, but dries clear.
Turn bottle at angle and squeeze gently to release liquid.
Use the pointed tip for easy and even application.
Outline your work, then fill in.
Allow to dry for 24 hours before handling (It will dry alot faster in the Queensland summers)
Keep out of extreme temperatures or humidity while drying to prevent cracking.
Please let me know if you found this helpful.
Happy Scrapping!
Tina