Sunday, July 27, 2014

Couture Creations & Imaginarium Designs Blog Hop!

#couturecreationsaus   #imaginariumdesigns


Welcome to Day 1 of the

Couture Creations & Imaginarium Designs Blog Hop!  

We’re so excited to team up with Imaginarium Designs  sharing inspiring projects created with both our products with you this week. What could be more perfect than our Embossing Folders and Dies and Imaginarium Designs  gorgeous Chipboard designs.
Each day this week we will feature our Design Team projects and over on the Imaginarium Designs Blog they will also feature  their Design Team projects all created using Couture Creations and
Imaginarium Designs products. So loads of inspiring projects for you to help get your creative juices flowing.
We will link to the tutorials on each Design Team members blogs, please show all our designers some love and leave a comment on their blog.
 
We’ll be giving away Two $100  prize packages filled with Couture Creations & Imaginarium Designs goodness at the end of the week, so be sure to play along and check back on both Imaginarium Designs and Couture Creations blogs Monday 4th August 2014 to see if you’re one of  the lucky winners!
 
Here are the different ways you can play along with us –

Like Couture Creations on Facebook 
Share this blog post on your Facebook wall and tell us you did on our
Facebook page
 Follow our
Couture Creations Blog 
 Leave a comment here on our blog and on our Facebook page
 Follow Couture Creations on
Pinterest
Follow Couture Creations on Instagram
 
Hop over to the Imaginarium Designs Blog and see what their Design Team has created using their Chipboard and our Couture Creations products! They also have a  giveaway, so what are you waiting for – hop over!  oh and don't forget to follow our Design Team Blogs

The layout I created....
 
Here is my tutorial...

Emboss Core'dinations cardstock as normal, then (leaving cardstock in the Velvet Tealights embossing folder) ink the raised design on the folder using a die-based ink.  Close folder and run it through your die-cutting machine again.  The ink will have transferred to the cardstock.  Sand the raise areas with a sanding block.


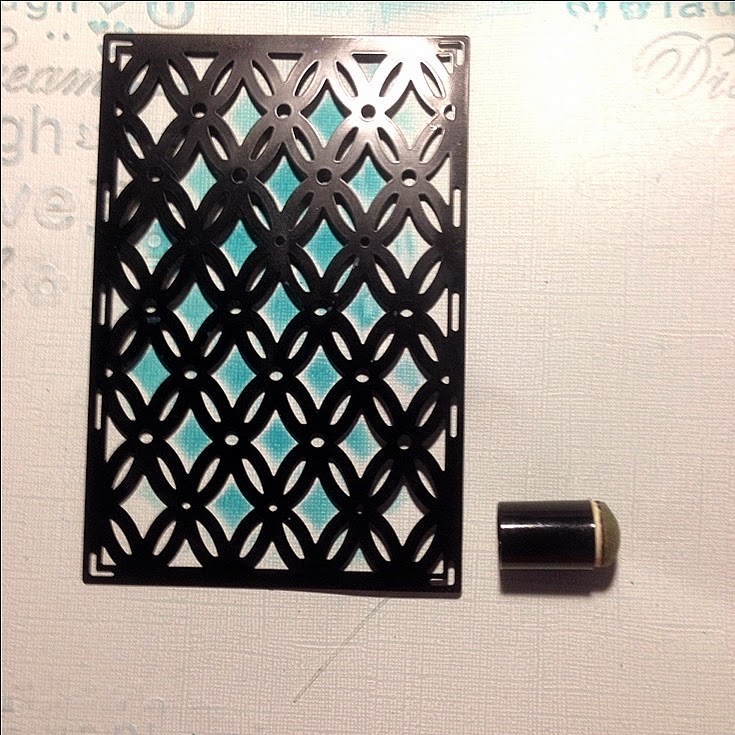
Using the Tied Together die as a stencil, ink the pattern onto the Coredinations Whitewash cardstock.  Emboss the corner of the layout using Classics embossing folder and sand to reveal the core colour.

Here's some close-ups of my completed layout.


I cut Tied Together and Mirror Mirror Ornamental Lace dies to use for layering.


 I de-bossed the Peacock Fans pattern onto the Imaginarium Designs Butterfly Border (which I cut up) before heat embossing.


 I heat embossed the Imaginarium Designs "You Inspire Me" title and hearts.


 I love this new release "Roses" Intricutz die,


Thanks for visiting my blog today.

 
Make sure you go visit Couture Creations designer  Jo Piccirilli

 
http://imaginariumdesigns.blogspot.com.au/

Pop over to Imaginarium Designs Blog to see what
 
Don't forget to share the love


Wednesday, July 16, 2014

Having a "Merry Little Christmas" in July!

Hi everyone,
It's Tina with an Easel Card I created to share with you, plus a little tutorial.


Cut a card base using the largest Scalloped Rectangle Nesting die. To do this fold cardstock in half and diecut, leaving an edge attached.

  
Fold the top edge back as shown.
 
 
Cut an extra single Scalloped Rectangle from Core'dinations cardstock. 
Apply adhesive to the top part of the fold.
 
 
Attach Scalloped Rectangle to folded piece as shown.


I've used a doily die with Core-dinations Glitter Silk as the basis for this card.  
I used Cappuccino from the Momento collection but the new release Moulin Rouge, Splendor, and Memories from "The Treasure" collection are just as gorgeous.  Attach the doily diecut to the front of the card.
 

Cut Core'dinations gold Glitter Silk cardstock using Christmas Lace Ornamental die. 
Cut two Fancy Christmas Flourishes from green Core'dinations cardstock.
 Cut birds (Birds & Branch Intricutz die) from red cardstock, and branch from brown cardstock.   Attach as shown and highlight the leaves with green Glitzn'Glamour.  I attached one of the leaves in reverse so I had a mirror image effect.


Cut a strip of white cardstock using Momento Chandeliers, Adhere using Couture Creations 3D Foam Mini Dots, embellish with Gemstones and stamp a sentiment.


  Couture Creations Products
CO723245 Memento Ornamental Lace dies - Cappuccino
CO723891 Christmas Lace collection Ornamental Lace Die -Christmas Lace
CO723915 Merry Little Christmas Intricutz die - Fancy Christmas Flourish
CO723904 Merry Little Christmas Intricutz die - Birds & Branch
CO723247 Momento Ornamental Lace Dies - Chandeliers Set
CO723047 Nesting Dies - Scalloped Rectangle
CO723781 3D Foam Mini Dots
CO721978 Glitzin'Glamour Green
CO721993 Gemstones - Red Lust
CO723818 Quick Release Die Paper


Tuesday, July 8, 2014

Blog Hop with a difference!

A few weeks ago I was asked by my very talented friend, Janice Nicholls, if I would like to play along with a BLOG HOP with a DIFFERENCE.

1. What am I working on? Multiple DT layouts, creating projects for the Couture Creations magazine, and a vintage tag for a swap. 


2. How does my work differ from others of its genre? This is a tricky one!  I tend to use multiple techniques on my pages.   I like to mix collections/manufacturers.  I love using mediums, mists, and paints.  I have a huge collection of washi tape that regularly finds its way onto my pages.  I love to "messy stamp".  I love to alter chipboard and embellishments to give my projects that personal touch.


3. Why do I write/create what I do?   It is all about preserving precious memories, but I just love playing with paint, papers, and mediums.  It's my creative outlet!  I also LOVE teaching and have been blessed with some wonderful opportunities to work in the scrapbooking industry.

Here is the layout I taught recently at the Brisbane Scrapbook & Papercraft Expo


4. How does your writing/creating process work?   It can vary depending on what I'm creating.  If I want to scrap a particular photo, I'll be inspired by the colours, and textures in the picture, and the memories it evokes.  Sometimes I'll just start with a white piece of cardstock, or old, daggy paper that has gone out of style, and just start throwing down layers of paint, mediums, mists and papers.  These are probably my favorites to create as you never know exactly how they will turn out.


And here are three ladies whose work inspires me.  I'm tagging them to be next on the blog hop.


Sue Smyth,  is the magazine editor for Australian Scrapbook Ideas and is on the current Design Teams for Imaginarium Designs, Couture Creations, and Meg's Garden.  She teachers in and around Brisbane, including recently at the Brisbane Scrapbook and Papercraft Expo.  Sue's creations always show amazing attention to detail, whether its a mixed media masterpiece, handcrafted flowers, or one of her incredible three dimensional paper craft designs.


Lauren Tomecek lives on the Gold Coast & loves to spend her free time getting messy with paints and paper creations.  Lauren has the knack for great design, combining layers and texture, and isn't afraid to experiment and try new techniques.  She is on the design Teams for Couture Creations and Scrapmatts, and is expecting her first child soon. 

Kasia Krzyminska (also known by her nickname Czekoczyna) is a pharmacist, an amazing mixed media artist, and teacher from Warsaw, Poland.  She is currently on the Design Teams for Prima, Mixed Media Place, The Scrapbook Diaries, and is a contributor to Paper Haus Magazine.  She has a unique, innovative style, and her creations always inspire me.
 
Links to my Friends blogs joining in with this Blog Hop
 
These girls will be posting for this blog hop next week- 14th July.
I would love you to pop over to their blogs and learn more about them.
 
 I do hope you have fun with this blog hop and discover some new scrappers.
 
Thank you for dropping by and taking the time to read my blog (I especially love reading your comments).    If you are not already a follower of my blog I would love you to become one...its easy just click on my followers link on the sidebar.
I hope you've been inspired to go get your hands messy and create something.

 Happy Scrapping!
Tina

Friday, July 4, 2014

Aussie Christmas cards!

Hi everybody,
Tina here with a fun technique to create some Aussie summer Christmas cards.
 
I used the Great Island Paradise embossing folder from "The Marriot" collection and Core'dinations cardstock.
Place your cardstock mat in the folder and spray generously with two or three  mists (enough to cover your cardstock with just a little pooling)
 

Close the folder and run it through the embossing machine. 


The mists get squeezed into the paper, and create a cool effect.  Make sure you allow it to dry completely before attempting to adhere it to your card base. 


 You can also heat emboss the raised areas or use Glitzn'Glamour to embellish it.

 And here's another one I did with slightly different colours, I think it suits our Aussie Christmas perfectly!

 
Couture Creations Products:
 

LinkWithin

Related Posts with Thumbnails