Showing posts with label Tattered Angels. Show all posts

Tuesday, October 25, 2011

More WOW layouts

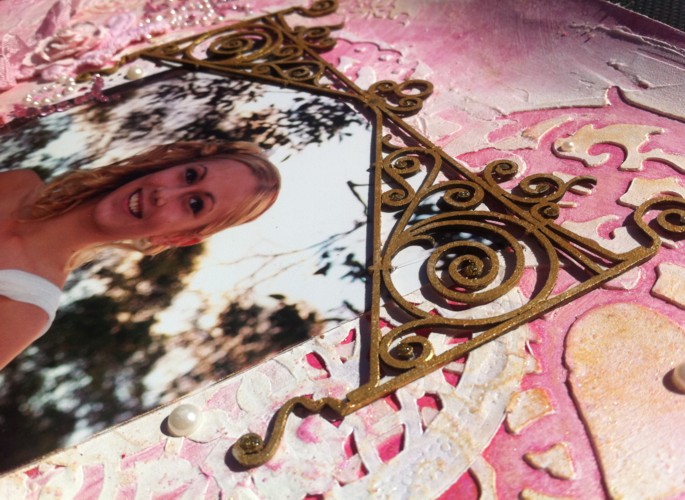
 This layout uses Words or Whatever title, and Ornate Hanging Sign which I altered to create the feel of a garden arch or arbour.  This layout has lots of subtle sparkle, and texture which I created using Tattered Angel Glimmer Screens, and lots of mixed media.


And a quick, fun double page spread...


 And a sneak peak of one of the classes I will be teaching at the scrapbooking retreat with Greenbank Scrapbook Shop in January.

Friday, April 29, 2011

My creations.....

I have some super exciting news!  I have been chosen to be on the new Design Team for Paper Secrets, along with Amy and Doris, and our team co-ordinator Rochelle.   We have heaps of fab challenges for May, as well as a super scrapping challenge called "Scrap Your Ass Off" with  new challenges posted each Friday and a fantastic prize to the winner.  Head on over to Paper Secrets and sign up by May 12th. 
Here's some sneak peaks of my challenge examples...


Don't forget the challenge at Scrappassion Challenge Blog International  this month is a mini-album.  I made my album by die-cutting the edges using Tim Holtz dies, and Zuttering it all together.  I  then painted, and Glimmer Misted, then added Glimmer Glam and heat embossing.  Then I embellished and added photos.  It was a major mission, but I absolutely love how it turned out.


 Sorry about the blue tinge , we've had a lot of cloudy days lately!


 The tiny birdcage was made using Shrink Plastic and Tim Holtz dies.  The pieces with spritzed with Glimmer Mist before heating.


Here's a few layouts I've done for Artfull Crafts....

I've used a Kutalicious acrylic word for my title and coloured it with Tim Holtz Alcohol inks and added some Metallic Mixatives.
If you've never used Alcohol inks before, they are an amazing product.  They work well on all glossy/non-porous surfaces, but can also be used to colour seam binding, fabric and ribbons.  They come in small bottles which last forever, because you only need to use a few drops.  I use them to colour flowers & rhinestones, on acetate and metal foil, you can "age" metal embellishments, & re-colour buttons.....as well as a heap of other things!  I love the amazing  effects you get with them, especially on metal and acetate.  There's a nice tutorial  here, otherwise if you Google 'Tim Holtz alcohol ink tutorial' you'll get lots of You-tube  links to watch Tim do his magic.   


 I love this Gabrielle collection by Bo Bunny.......and I've added a dash of Tim Holtz' new Kraft Resist paper.


I'm off to dance Eisteddfods all weekend, watching my darling daughters.  Still have to sew sequins on costumes so I'm off....
Have a great weekend

Saturday, February 12, 2011

I love... Glimmer Mist

Hi, It's Tina here with my "love" blog post for Artfull Crafts!  I'm not really one for too much lovey dovey stuff, so I thought I'd tell you a bit about a product that I absolutely love, Tattered Angels Glimmer Mist.  This is seriously gorgeous to work with, plus you can get messy (which is half the fun!)

A few tips...
* It's very easy to clean up, just rinse with water (but the darker/stronger colours will stain your fingers)
* You don't need to use alot.  The glimmer starts to show as it dries, so you don't need to soak your paper (which is a common mistake, and wastes alot of the product)
* You can wipe off the excess, but this also wipes off some of the glimmer.  This comes down to personal preference.
* Use a cardboard box as a spray booth.
* Holding the Glimmer Mist bottle close to your item will give a strong concentration of colour, holding it approx 20-25 cm away gives a light mist.
* Use it to custom colour your flowers (see below), doilies, and laces (as on the layout above).


* Works extremely well on absorbant materials such as paper, chipboard, & fabric, but it will eventually dry on other materials.
* Spray over stencils and masks to create your own patterned paper.
* Custom colour white cardstock for a unique effect.  Stamp with the Glimmer Mist as I've done with the butterfly on the layout below.
* You can also use the "left-overs" from Cricut cuts, or chipboard letters as stencils.
* Press the nozzle quickly for a finer mist or slowly to create more "blobs" when spraying.
If you're wondering which colour to try I'd suggest gold (which goes with everything), or chosing a colour you use often in your scrapping.

Now to show you some of the new goodies Liz has at Artfull Crafts. I painted the Twiddlybitz Filagree shadow box with gesso, then Kaisercraft white paint, then added some Tim Holtz Crackle paint to the front.

Once dry I applied Distress ink to highlight the cracks and then spritzed with Glimmer Mist

I used the Kaisercraft Wooden Flourishes "Magical Butterflies" and sprayed them with Glimmer Mist.

I also used Glimmer Mist on the Kaisercraft Paper Blooms, Sullivans mini roses,  and Kaisercraft English Rose paper.

I added Diamond Dust and Distress Stickles to the flowers
There was lots of diecuts to choose from, and this saying totally suited my project.

The Kaisercraft rub-ons added that little bit extra, and are a really nice quality.
The final result.....
Let me know what you think!
Happy scrapping,
Tina

LinkWithin

Related Posts with Thumbnails