Thursday, June 4, 2015

Designing for Lindy's


Hi everyone!  I hope you are all having a fantastic day and finding some time to scrap. Today I thought I'd share how I created this layout, 

First I applied some modelling paste through a stencil, and allowed it to dry


I've used the June Challenge colours starting with Steel Shimmer and Pirates Plunder Gold.


Shabby Turbine Teal was sprayed through a mask in a number of places.


Twinkling Tinsel was added to the flowers. which created a gorgoeus shimmery effect.


A drop of Cheshire Cat Cherry was put in the centre and allowed to wick


I heat embossed Oakleaf Olive and then sprinkled Atomic Green Gold Mica on top and remelted it with the heat gun.


The 'Art Deco' diecut was embossed with Angel Wings Gold, whilst the other die-cuts were sprayed with a variety of colours.


Thanks for visiting today,
Happy Scrapping


Wednesday, June 3, 2015

Art journal with Lindy's

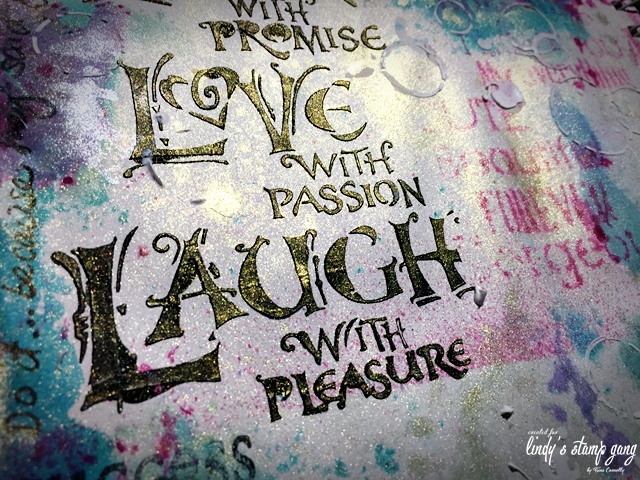
Hi there, I decided to try some art journalling using the Lindy's Stamp Gang colours from the June Colour Callenge Set.

I applied black Gesso through a couple of stencils and allowed it to dry. 


Pirates Plunder Gold Moon Shadow Mist and Steel Shimmer Glitz Spritz were sprayed over the background.


Her hair was painted with Cheshire Cat Cherry Starburst Spray, and then a few splatters made by flicking the brush.


The butterflies were coloured with Shabby Turbine Teal. 


I wanted to introduce a few more colours, so I used Time Travel Teal and Witches Potion Purple.


Spray a mix of colours onto a non-stick sheet and press it onto your page.  This will give a different effect than you would achieve by spraying.


Spray Cheshire Cat Cherry through a stencil, and press the excess onto the page.


Paint some details on the butterflies using Twinkling Tinsel.  Once dry, stamp with Stazon, and add more detail and some quotes with a journal pen.


I added some colour to her face by using the mists as watercolours.


Friday, May 29, 2015

Amaryllis Tag!


Hi everyone, I'm loving the new Hearts Ease paper, the colours are just gorgeous.   I decided to make a gift tag, which could double as a bookmark, so kept the layers relatively flat.


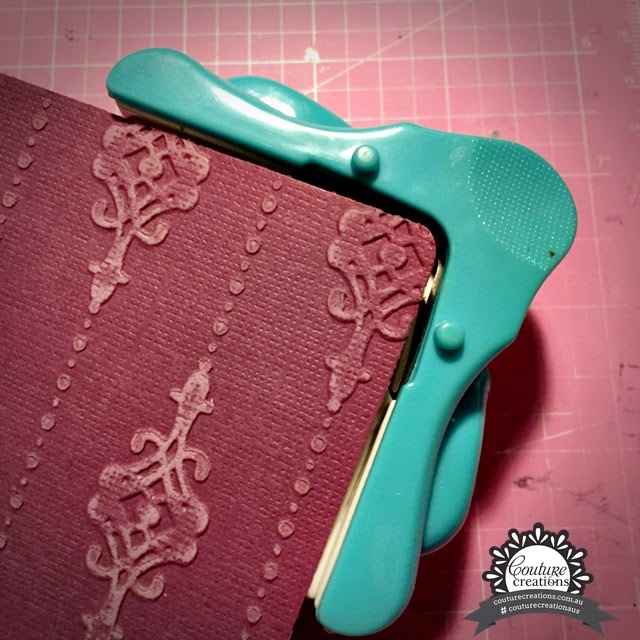
I cut a tag from Core'dinations cardstock and embossed it using Lilliputana Curtain embossing folder.


Pattern match to create a continuous pattern, but only roll part way into the embossing machine, and then out the same way so you don't get a "flat spot" where the edge of the embossing folder was.


Corner punch the corners, and sand the embossed pattern using a sanding block.


Cut Amaryllis Laced Frame and two corners from Hearts Ease paper, and Amaryllis Keepsake Kandy from white cardstock.


Ink and then spray mist towards the centre of the tag.  Adhere die-cuts as shown.


Cut another Laced Frame from black cardstock, and the centre Megan's Magic die from Hearts Ease paper and ink edges.


Layer using 3D Foam Strips.


Add a sentiment using Hearts Ease Embellishments, and a few Couture Creations flowers which I sprayed and inked.


Couture Creations Products:
C0724190 Hearts Ease 12x12 Double Sided paper
C0724174 Hearts Ease 12x12 Double Sided paper
C0724375 Hearts Ease Embossing Folder -  Lilliputana Curtain
C0724306 Amaryllis Ornamental Lace Die - Laced Frame
C0724304 Amaryllis Ornamental Lace Die -Keepsake Kandy
C0724307 Amaryllis Ornamental Lace Die - Megan's Magic
Hearts Ease embellishments
C0724292 Tie Dyed and Jeweled Florettes
C0724294 Tie Dyed and Jewelled Flowers
C0723060 Sanding Block
C0723975 5mm Corner Punch
C0723899 3D Foam Strips


Monday, May 4, 2015

Beautiful sunsets

Hi there,
Today I'd like to share my process for creating this fun mixed media layout.

Create texture using modeling or texture paste through a stencil, and allow to dry.
Spray Lindy's Stamp Gang Silent Night SilverOcean Breeze Blue, and Clam Bake Beige,  and mist lightly with some water to allow it to run and blend.


Repeat the process using Frenchy's Pink Pouf and Hydrangea Blue


Allow to dry, then add splatters of each colour.  Highlight a few places using Bachelor Button Blue for extra depth.


Emboss chipboard using Madonna Robe Blue Gold and Hyacinthe Blue Jade.


Add some beads, sequins, muslin, and thread for interest


Thanks for vising the blog today.
Happy scrapping.
Tina


Sunday, May 3, 2015

Masqurade

Hi everyone, I've recently returned from teaching on a Scrapbooking Cruise to the South Pacific. I had a fantastic time and met lots of lovely crafters. We were presented with a challenge before we embarked, which was to decorate a mask for our Farewell Masquerade Party. I thought I'd share my creation using the May Challenge colours as my inspiration.

I added some texture using gel medium through a stencil and allowed it to dry.


I added Silent Night Silver and Hydrangea Blue in several places.


I then added patches of Ocean Breeze Blue.


The butterfly diecut was embossed using Hollyhock Scarlet Plum.


Happy scrapping!
Tina


LinkWithin

Related Posts with Thumbnails